This is a how-to on "dis-assembling" the shocks to take the springs off (in my case, for paint.) This could be dangerous so I urge you to do so at your own risk. I will not be held responsible for you damaging your atv parts or your self.
For this example I'm using a front shock from a trx450r, but I have also done it with the stock rear shock from my 2006 400ex (as you can see in the background of the picture for step 4.)
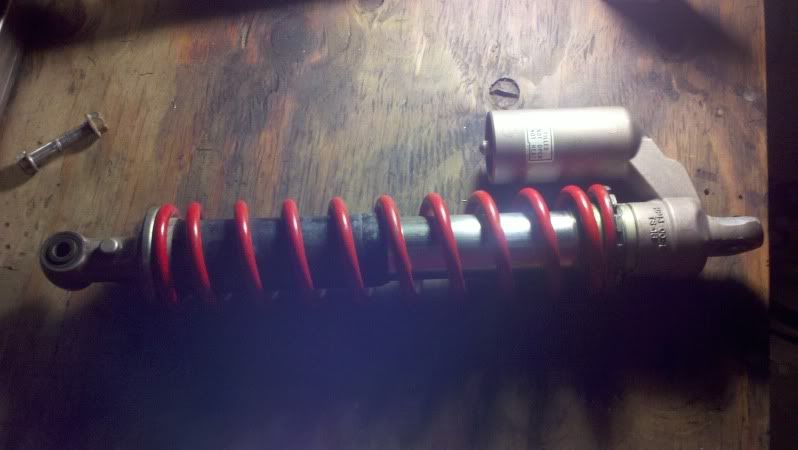
STEP 1:
Remove the shock from the atv and bring to a work space.
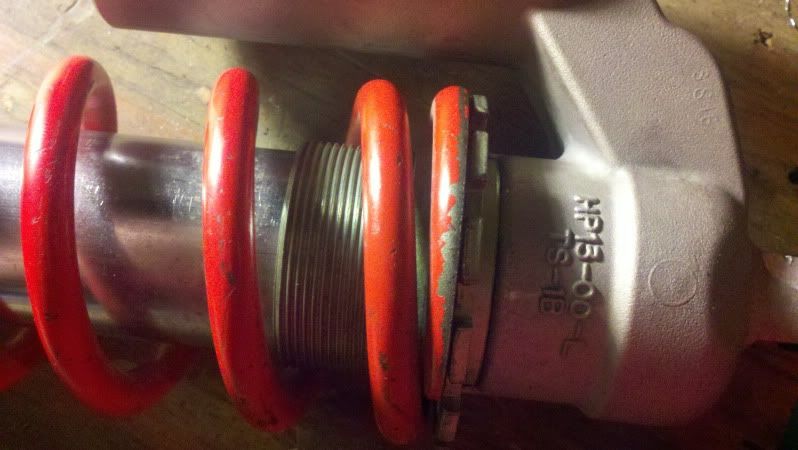
STEP 2:
Using a spanner wrench (preferred, but probably not easiest), channel lock pliers, or a hammer and punch, loosen the pre-load adjustment so it is as high on the shock as it can go, thus relieving spring pressure on the shock.
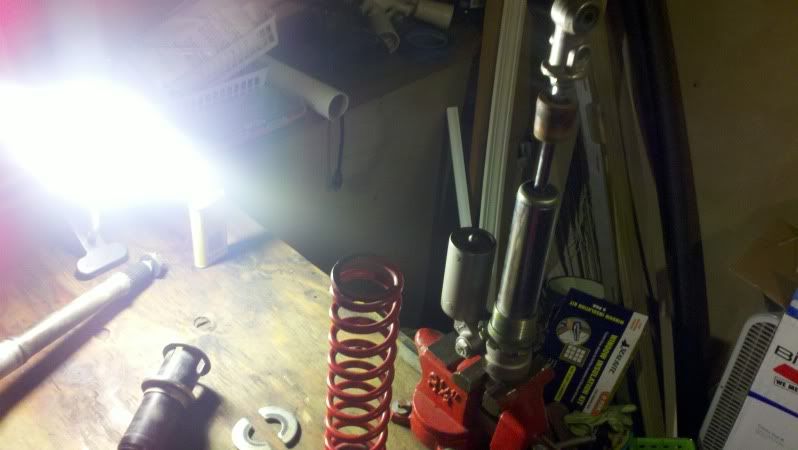
STEP 3:
It's not necessary, but I like to use a vise to stand the shock up (upside down.) You should be able to just do it on a work bench though.
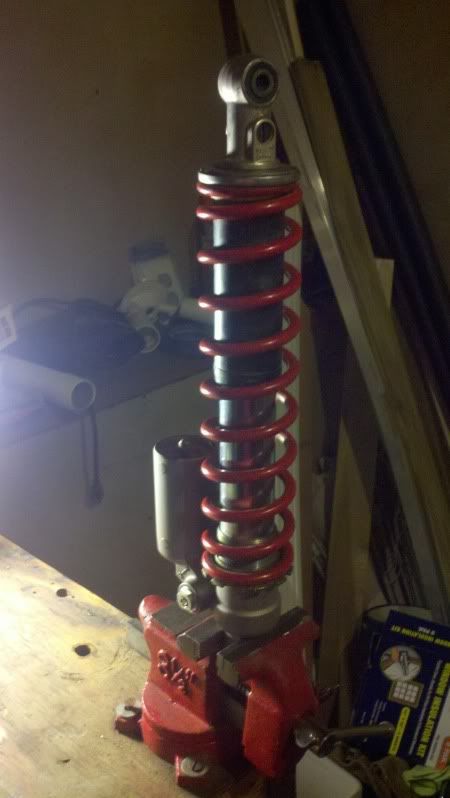
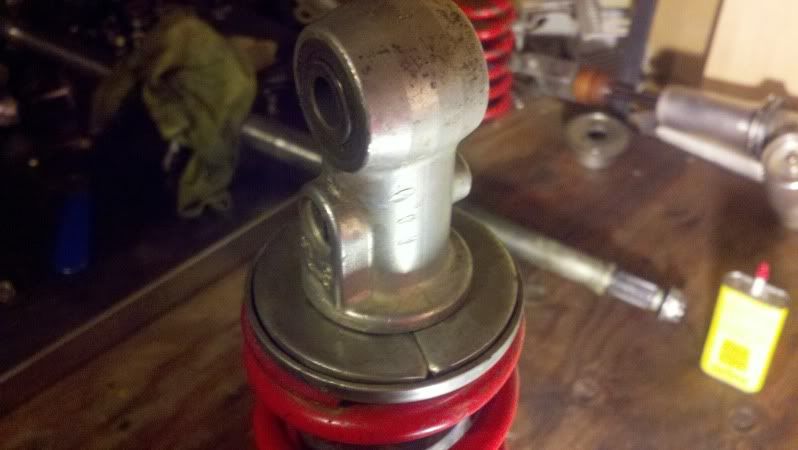
STEP 4:
Now, with the shock upside down, notice the 2 half-circle shaped pieces at the top of the shock. These are the spring keepers (very similar to the way the valve springs are held in the head.)
STEP 5:
Using your hands (and probably some body weight) pull down on the springs. It shouldn't be too hard now, since the pre-load was adjusted to be lighter. When you push it enough there should be enough room to take the spring keepers out. You can take one out, take a breath, and take the other, or just take both out in one compression. A flat blade screw driver may help as well. BE CAREFUL FOR YOUR FINGERS ON THIS STEP!!!
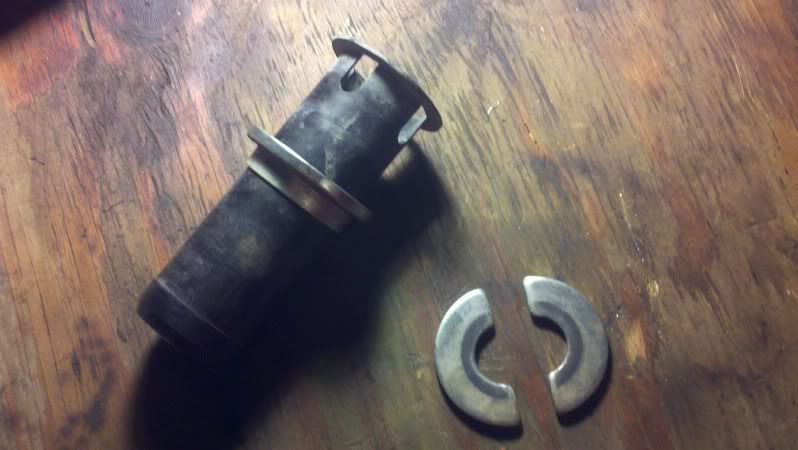
Once they are out, you can remove a metal holder the keepers go into and the plastic sleeve. Now the spring will slide right up and off.


 Reply With Quote