First off this is not a 'one-up' or anything against the other polishing how to, just a different way.
Polishing is a test of patience. The actual polishing AKA buffing or 'on a wheel' is the easy part. If you want to learn find a flat piece of aluminum to learn on.
Just as the other thread we will begin with the sanding part. Start with clean metal. Go to the store and buy sand paper. Pick up grits 80, 100, 180, 220, 320, 400, 600. You don't necessarily need all those grits it depends on how rough the surface of the metal is and what kind of metal your working with.
SAND, SAND, SAND. You want to spend alot of time sanding because that really lays the foundation for a nice shiny part. Start with the highest grit that you think will make the surface flat and work your way up. I never start with anything lower then 80 grit and most times not end higher then 400. An example of the steps to take would be to start with 100 then goto 180 to 220 to 320. If your working with soft metal then it's possible to skip some grits.
Here's some tips:
For a surface to shine it must be flat. scratches, pits and corrosion are what makes metal dull. A mirror reflective part WILL take hours and be perfectly flat and void of pits and scratches.
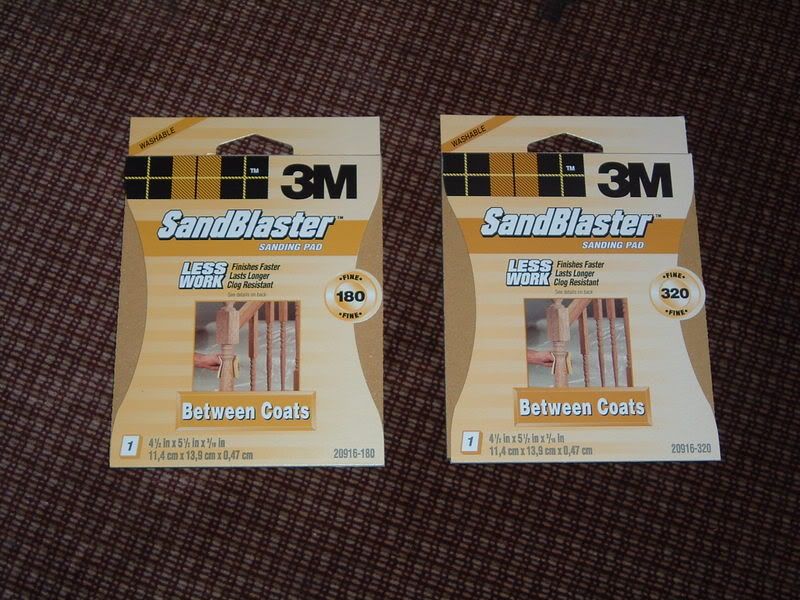
3M makes assorted grits on a sponge backed pad. It's easier on the fingers. I cut them in quarters.
Buy a pair of cheap knit gloves to save your finger prints unless you want to go rob a house or something when your done.
Only sand in straight lines, never in a circle.
Don't skip too many grits to save time because it will actually take longer to get the previous marks out.
End with at least 320 grit.
Use repetition not power.
Use ANY machine to save time as long as it sands in straight lines.
A plug in drill and dremel tool are your friends.
Invest in a vice mount set up for your drill and assorted grit flap wheels.
Sanding is dirty. Wear eye, ear, and lung protection if your using any power tool.
Make your own rules and do whatever works for you!
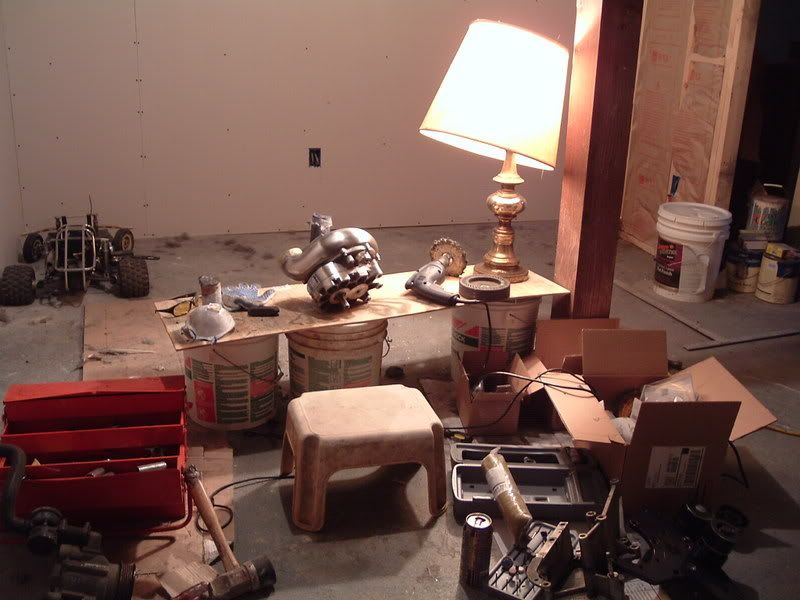
This ghetto set-up from years ago produced some amazing work and all I used was a drill and my hands. You don't need a ton of expensive tools to get started.
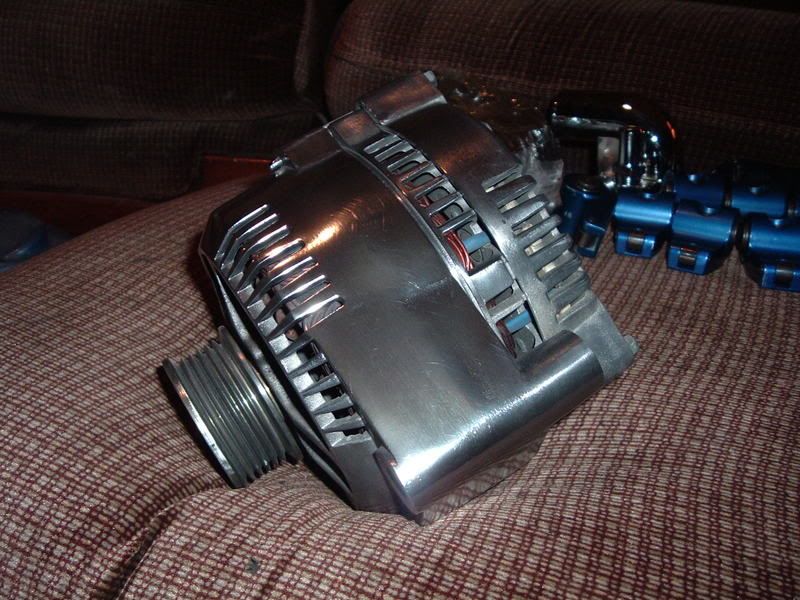
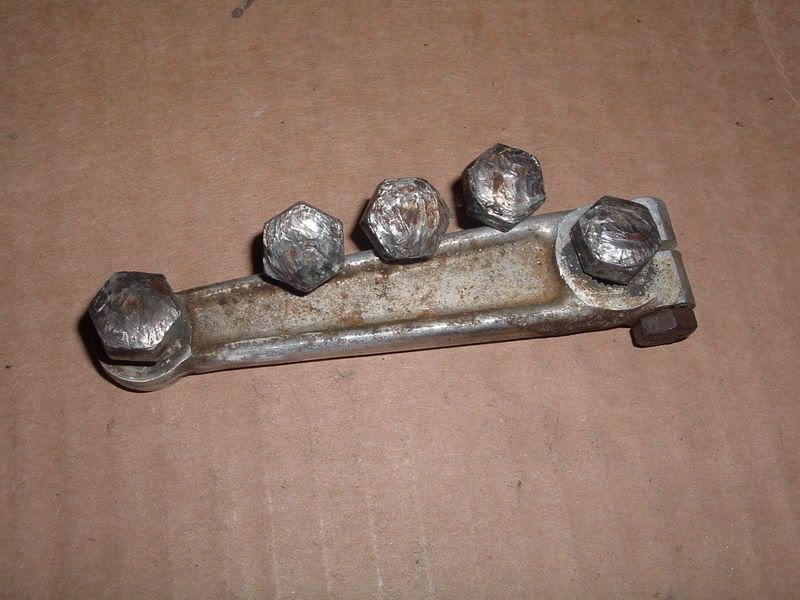
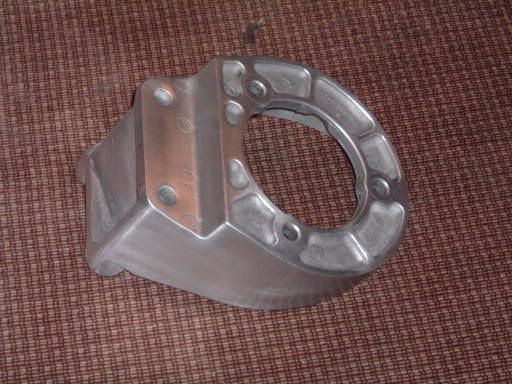
Alternator after 220 grit:
OK your finally done your sanding and hopefully your piece already has a nice 'brushed' look to it.
Your going to need something to buff out the sanding marks. Before you run out and buy a $280 Baldor try a vice mount drill set-up from www.eastwoodco.com it's cheap and you can use a cheap plug in drill. I used this set-up for the alternator so I can tell you that it is enough if all you want to do is learn and maybe do some stuff on your quad. If you like the art of polishing like me then you will want something more powerful. For less then $70 you can have an 8 inch 3/4 buffer from www.harborfreight.com The one I used for everything I've ever done is still the one I use today.
WHEELS
Goto Eastwood and pick up.
Sisal
Spiral sewn
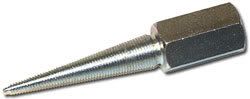
These are the tried and true standbys. Use the sisal for rough buffing and the spiral sewn to final buff. I personally only use 6 & 8 inch wheels which are perfect size for a 3/4 hp buffer. I have around 20 different wheels but these are still my goto's. Invest in a tapered arbor extension, with it you can go from any wheel to any other wheel in 1 sec.
Use good lighting.
Get a good chair. Show me a picture of someone standing and buffing and I'll show you someone who's back and legs give out before their part is shiny. I like bar stools.
wear gloves. Polishing is dirty and you'll find the hotter your part gets the less compound build up you have which is way hotter then you can stand with bare hands.
Pad the floor. You WILL catch the edge of something and drop your part. I use a cardboard box with paper in it. It also contains alot of the mess that flys off the wheel making clean up alot easier.
As you gain experience by all means get other wheels.
Compounds
Again check Eastwood for an explanation of all the colors. Almost universally people use brown (Tripoli) as a rough compound to start with and white (white rough) to finish with. I personally end with green and never use white. Milbro makes the best compounds in my opinion and you can get them at Lowe's.
Let me save you time, clean-up, and wasted compound and tell you more is not better when it comes to applying compound to the wheel. Touch the compound 1 to 2 secs on the wheel.
Wear a face shield and a mask for your lungs.
Do whatever works for you!
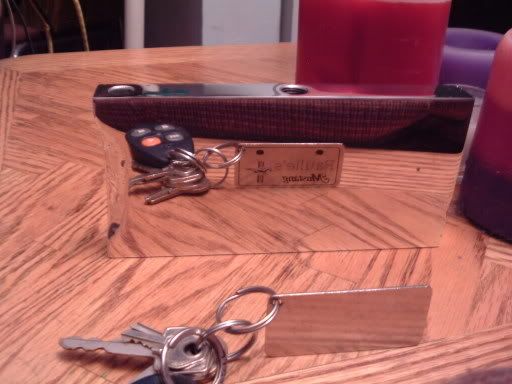
I love polishing! Finish a part and want to show it off post it or PM me
With a wheel you let the machine do the work.
Examples:
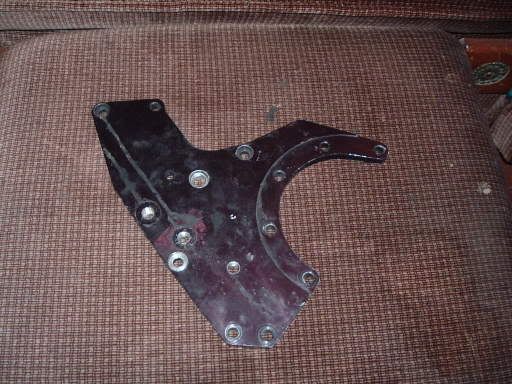
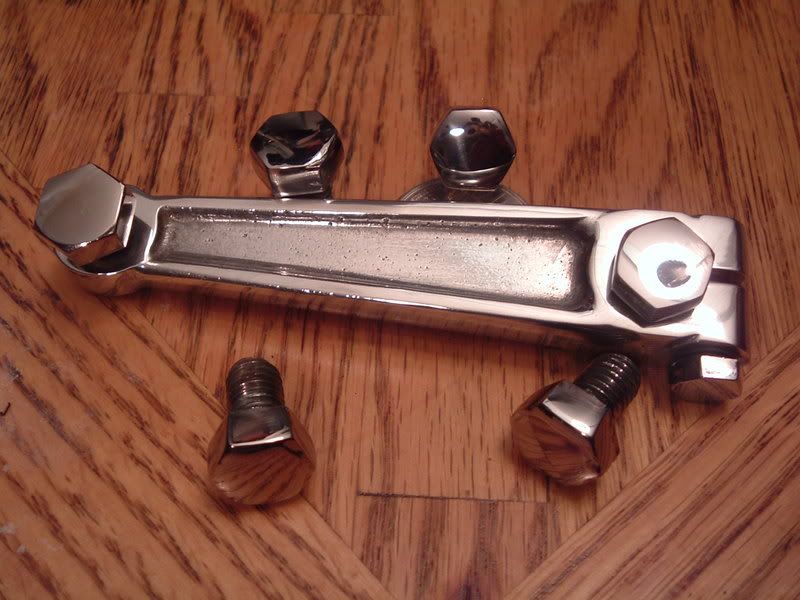
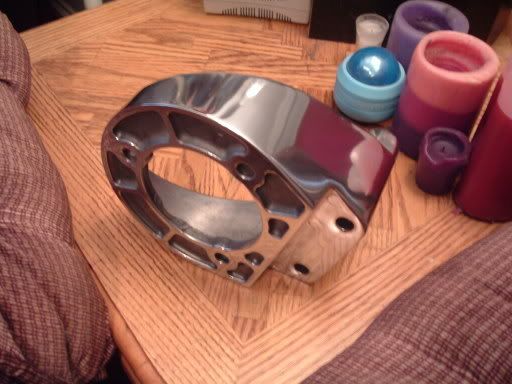
My Mustangs power steering bracket after 400 grit
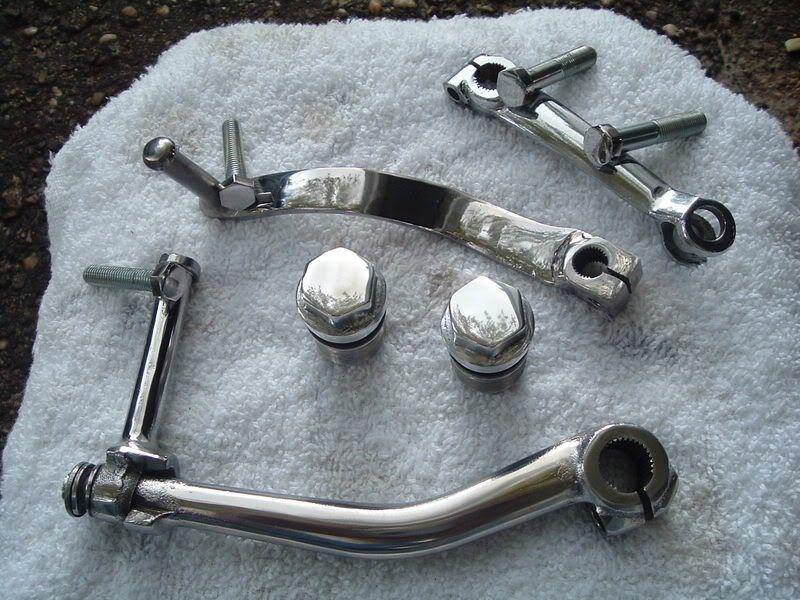
Vortech YS trim discharge tube
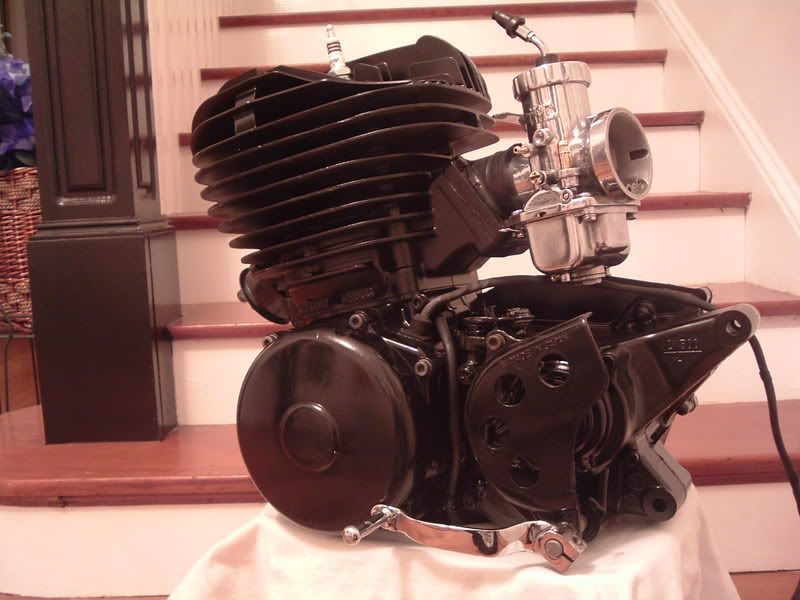
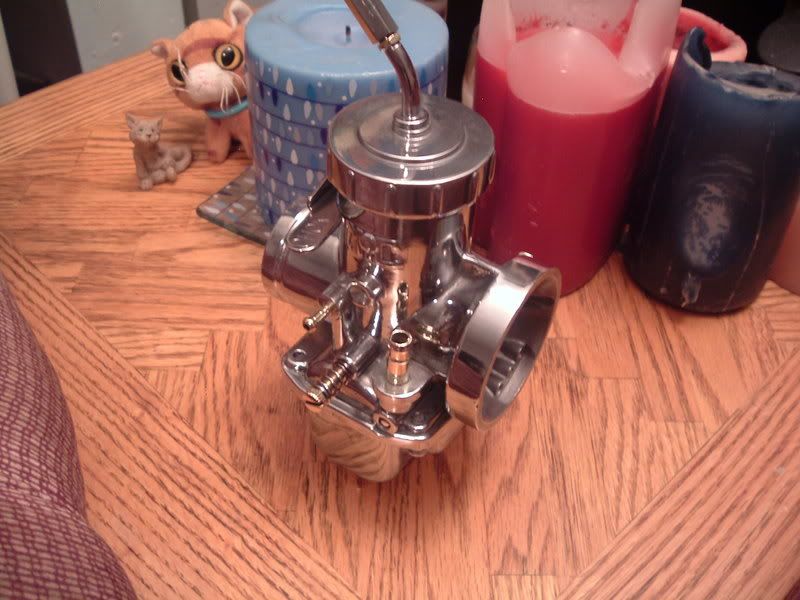
Mikuni 38mm on my Blaster
YOU GET THE POINT
Any questions don't hesitate to ask...PB


 Reply With Quote